
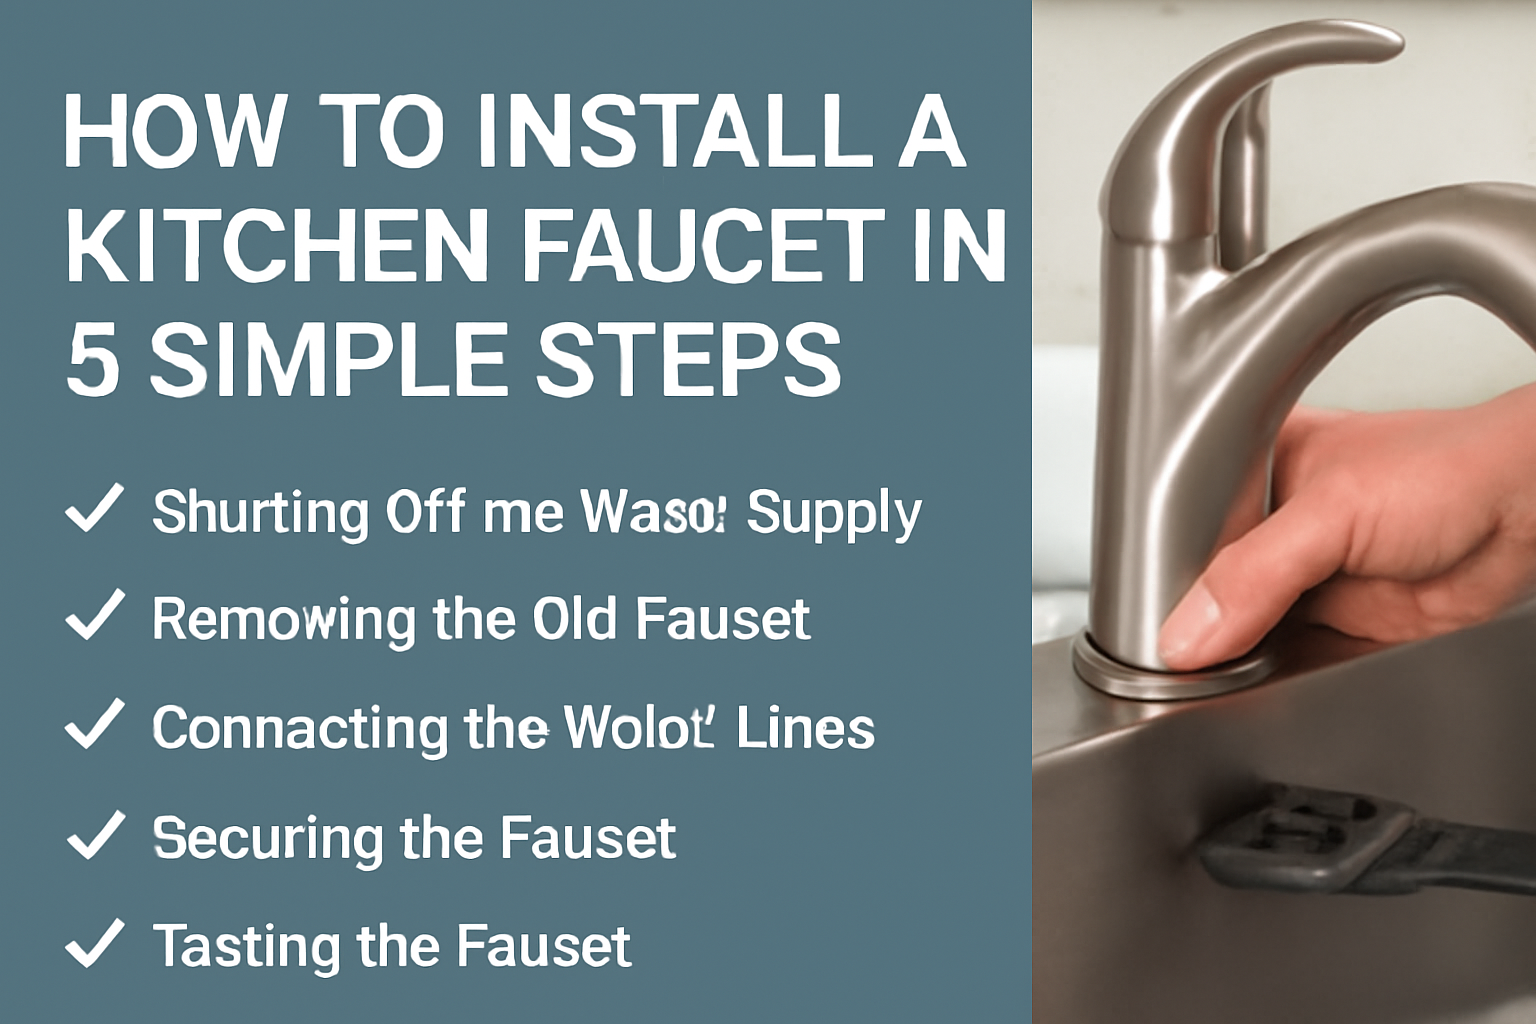
Installing a kitchen faucet might seem like a daunting task, but it’s actually something most people can do themselves with a bit of patience and the right tools. Whether you’re replacing an old faucet or installing a brand-new one, the process can be quick and straightforward. In this guide, we’ll walk you through the steps to install a kitchen faucet in five simple stages, from turning off the water supply to ensuring everything works perfectly.
Why Installing a Kitchen Faucet Yourself Can Save You Time and Money
Hiring a professional plumber can be expensive, especially for a job that’s simple enough to do yourself. By installing your kitchen faucet, you not only save money on labor but also gain a sense of accomplishment. Plus, if you run into any issues down the road, you’ll know exactly how to fix them. DIY faucet installation can take just a few hours, depending on the complexity, and with the right preparation, it’s a manageable task.
How to Install a Kitchen Faucet in 5 Simple Steps (No Plumbing Experience Needed)
If you’re new to plumbing, don’t worry! Installing a kitchen faucet doesn’t require any special skills, just a willingness to follow these easy steps. Let’s start with the basic tools you’ll need for the installation.
Essential Tools You’ll Need for a Smooth Faucet Installation
Before getting started, it’s important to gather all the necessary tools. Here’s what you’ll need:
- Adjustable Wrench – To tighten or loosen nuts.
- Plumber’s Tape – To prevent leaks around threaded connections.
- Pipe Wrench – For gripping and turning pipes.
- Basin Wrench – To help reach the tight spaces under the sink.
- Channel Lock Pliers – For extra gripping power.
- Bucket or Towels – To catch any water spillage during the installation.
Having these tools on hand will ensure the installation process goes smoothly and efficiently.
Step-by-Step Instructions to Install Your New Kitchen Faucet with Confidence


How to Prepare Your Sink for a Successful Faucet Installation
Before diving into the installation, make sure the area around your sink is clean and accessible. Clear any dishes or clutter, and use a bucket or towels to protect the area underneath. If you’re replacing an old faucet, you’ll need to remove it first, which brings us to the next step.
Common Mistakes to Avoid When Installing a Kitchen Faucet
Even though faucet installation seems simple, there are a few common mistakes to avoid:
- Not Shutting Off the Water Supply First: Always turn off the water supply before starting the installation to avoid a mess.
- Forgetting to Use Plumber’s Tape: Not using plumber’s tape on threaded connections can result in leaks.
- Over-tightening Connections: It’s easy to over-tighten connections, which can damage parts or cause leaks.
- Leaving the Faucet Loose: Make sure to securely attach the faucet so it stays in place without wobbling.
With a little caution and attention to detail, you’ll avoid these common pitfalls.
What to Do if You Encounter Leaks After Installing Your Faucet
Leaks can be a concern after installing a faucet, but they’re typically easy to fix. If you notice water dripping:
- Check the Connections: Ensure all nuts and connections are tightened correctly.
- Inspect the Faucet Base: Make sure the faucet is seated properly on the sink.
- Replace Damaged Washers or Seals: Sometimes, washers wear out and need to be replaced.
If these fixes don’t work, you may need to call a professional, but in most cases, leaks can be resolved with simple adjustments.
How to Choose the Right Faucet for Your Kitchen Setup
Choosing the right faucet is crucial for both functionality and style. Here are some things to consider:
- Faucet Type: Decide between a single-handle, double-handle, pull-down, or touchless faucet based on your needs.
- Sink Compatibility: Make sure the faucet matches the number of holes in your sink. For instance, some faucets require a single hole, while others need three or more.
- Finish and Style: Pick a finish that complements your kitchen’s design, such as chrome, stainless steel, or matte black.
Do your research to ensure the faucet you choose will work well with your kitchen setup.
How to Replace Your Kitchen Faucet in 5 Simple Steps
Replacing an old faucet is one of the most common DIY projects in the kitchen. Here’s how to tackle it.
Step 1: Shutting Off the Water Supply – The First Crucial Step
Before you start removing the old faucet, turn off the water supply to prevent any accidents. Usually, there are shutoff valves beneath the sink for both the hot and cold water lines. Turn these valves clockwise until they’re completely closed.
Once the water supply is off, open the faucet to release any remaining pressure in the lines.
Installing a Kitchen Faucet Made Easy: 5 Steps to a Perfect Setup
Step 2: Removing the Old Faucet – Tips for a Smooth Removal Process
If you’re replacing an existing faucet, start by disconnecting the water supply lines from the faucet. Use your adjustable wrench to loosen the nuts securing the faucet to the sink. Be patient, as some nuts can be hard to reach. A basin wrench is especially useful in tight spaces.
After removing the faucet, clean the area around the sink to prepare for the new installation.
Complete Guide to Kitchen Faucet Installation: 5 Easy Steps for a Professional Finish
Step 3: Connecting the Water Lines – How to Avoid Common Problems
Now that the old faucet is out, it’s time to connect the water lines to your new faucet. Start by attaching the faucet’s water supply lines to the shutoff valves. Use plumber’s tape on the threads to ensure a tight, leak-free seal.
Tighten the connections with your adjustable wrench, but be careful not to overtighten, as this can damage the threads or cause the lines to crack.
How to Install a Kitchen Faucet Like a Pro in 5 Easy Steps
Step 4: Securing the Faucet – Best Practices for Stability and Durability
With the water lines connected, it’s time to secure the faucet to the sink. Use the mounting hardware provided with your faucet to anchor it securely. Tighten the mounting nuts under the sink to hold the faucet in place. Make sure everything is aligned correctly before tightening.
Once secured, test the faucet to make sure it’s stable and doesn’t wobble.
Your Ultimate 5-Step Guide to Installing a Kitchen Faucet Without a Plumber


Step 5: Testing the Faucet – Ensuring Everything Works Perfectly
With everything in place, it’s time to turn on the water supply and test the faucet. Open the hot and cold taps and check for any leaks or issues. If everything looks good, you’re done!
If you notice any leaks, tighten the connections and test again. Don’t forget to check for leaks around the base of the faucet and the water lines.
How to Ensure a Leak-Free Installation Every Time
The key to a leak-free installation is using plumber’s tape on all threaded connections and tightening the nuts and bolts securely, but not too tight. Regularly check your work during the installation process to make sure everything is aligned properly.
Common Tools and Materials Needed for a Kitchen Faucet Install
Here’s a quick recap of the materials you’ll need for installing a kitchen faucet:
- New faucet
- Adjustable wrench
- Basin wrench
- Plumber’s tape
- Pliers
- Bucket or towels
Having everything ready will ensure a smooth installation.
How to Handle Difficult Faucet Installations: A Troubleshooting Guide
Sometimes, faucets can be tricky to install due to tight spaces, worn-out seals, or hard-to-reach connections. If you encounter difficulty:
- Use a basin wrench to reach hard-to-get-to spots.
- If the faucet base is wobbly, ensure it’s properly tightened.
- If the faucet doesn’t fit the existing holes, you may need an adapter or to replace the sink.
No Plumber? No Problem! How to Install Your Kitchen Faucet in 5 Easy Steps
What You Need to Know About Different Types of Kitchen Faucets
Before installing a faucet, make sure you understand the type you’ve purchased. Kitchen faucets come in many styles, including:
- Single Handle: Adjust both the temperature and water flow with one handle.
- Dual Handle: Separate handles for hot and cold water.
- Pull-Down/Out Faucets: Ideal for cleaning larger pots and dishes.
- Touchless Faucets: Activate with a wave of your hand for convenience.
Choose the type that best fits your kitchen and lifestyle.
How to Install a Kitchen Faucet Quickly and Correctly in 5 Easy Steps
The Essential Maintenance Tips After Installing Your New Kitchen Faucet
Once your faucet is installed, regular maintenance can help keep it in top condition. Clean the faucet regularly with a soft cloth to avoid mineral buildup. Check for leaks every few months, especially around the connections.
How to Install a Kitchen Faucet in Just 5 Simple and Clear Steps
Is It Better to Replace or Repair Your Kitchen Faucet?
If your faucet is leaking or has other issues, it may be time to replace it. However, if the problem is just a worn-out washer or cartridge, repairing it might be more cost-effective.
5 Simple Steps to Install a Kitchen Faucet: A Complete DIY Guide
Step 1: How to Turn Off the Water Supply Without Stress
Turning off the water supply is the first and most important step. If you’re unsure, check the water valves under the sink or turn off the main water supply to the house.
The Ultimate Guide to Installing a Kitchen Faucet in 5 Easy Steps
How to Avoid Leaks and Drips After Installing Your Faucet
After installing, double-check all connections and use plumber’s tape on any threaded parts to ensure a leak-free seal. Tighten the nuts and screws, but don’t overtighten, as this can lead to damage.
How to Install a Kitchen Faucet in 5 Simple Steps: Quick and Easy DIY
How to Tighten the Faucet to Prevent Future Issues
To prevent leaks in the future, ensure the faucet is securely tightened, but don’t use excessive force. Tighten it gradually, testing for leaks as you go.
Installing a Kitchen Faucet Made Simple in 5 Easy Steps
Choosing the Right Tools for Your Faucet Installation Project
Having the right tools makes the installation easier. Invest in a quality basin wrench and adjustable wrench to help reach tight spaces and tighten connections securely.
By following these steps and tips, you can successfully install your kitchen faucet and avoid common issues like leaks and instability. Whether you’re replacing an old faucet or installing a brand-new one, this process is achievable with the right preparation and a little patience. Happy DIY-ing!